Introduction
A burned-out oven heating element can disrupt your cooking schedule and leave your kitchen feeling incomplete. The heating element is crucial because it produces the heat that cooks your food evenly. Without it, your oven cannot reach the proper temperature, which can ruin your meals. Luckily, fixing a burned-out oven heating element is a manageable task, even if you are not an expert. With the right approach, tools, and safety measures, you can restore your oven to full functionality. In this guide, we will cover everything from identifying a faulty element to replacing it successfully.
Understanding Oven Heating Elements
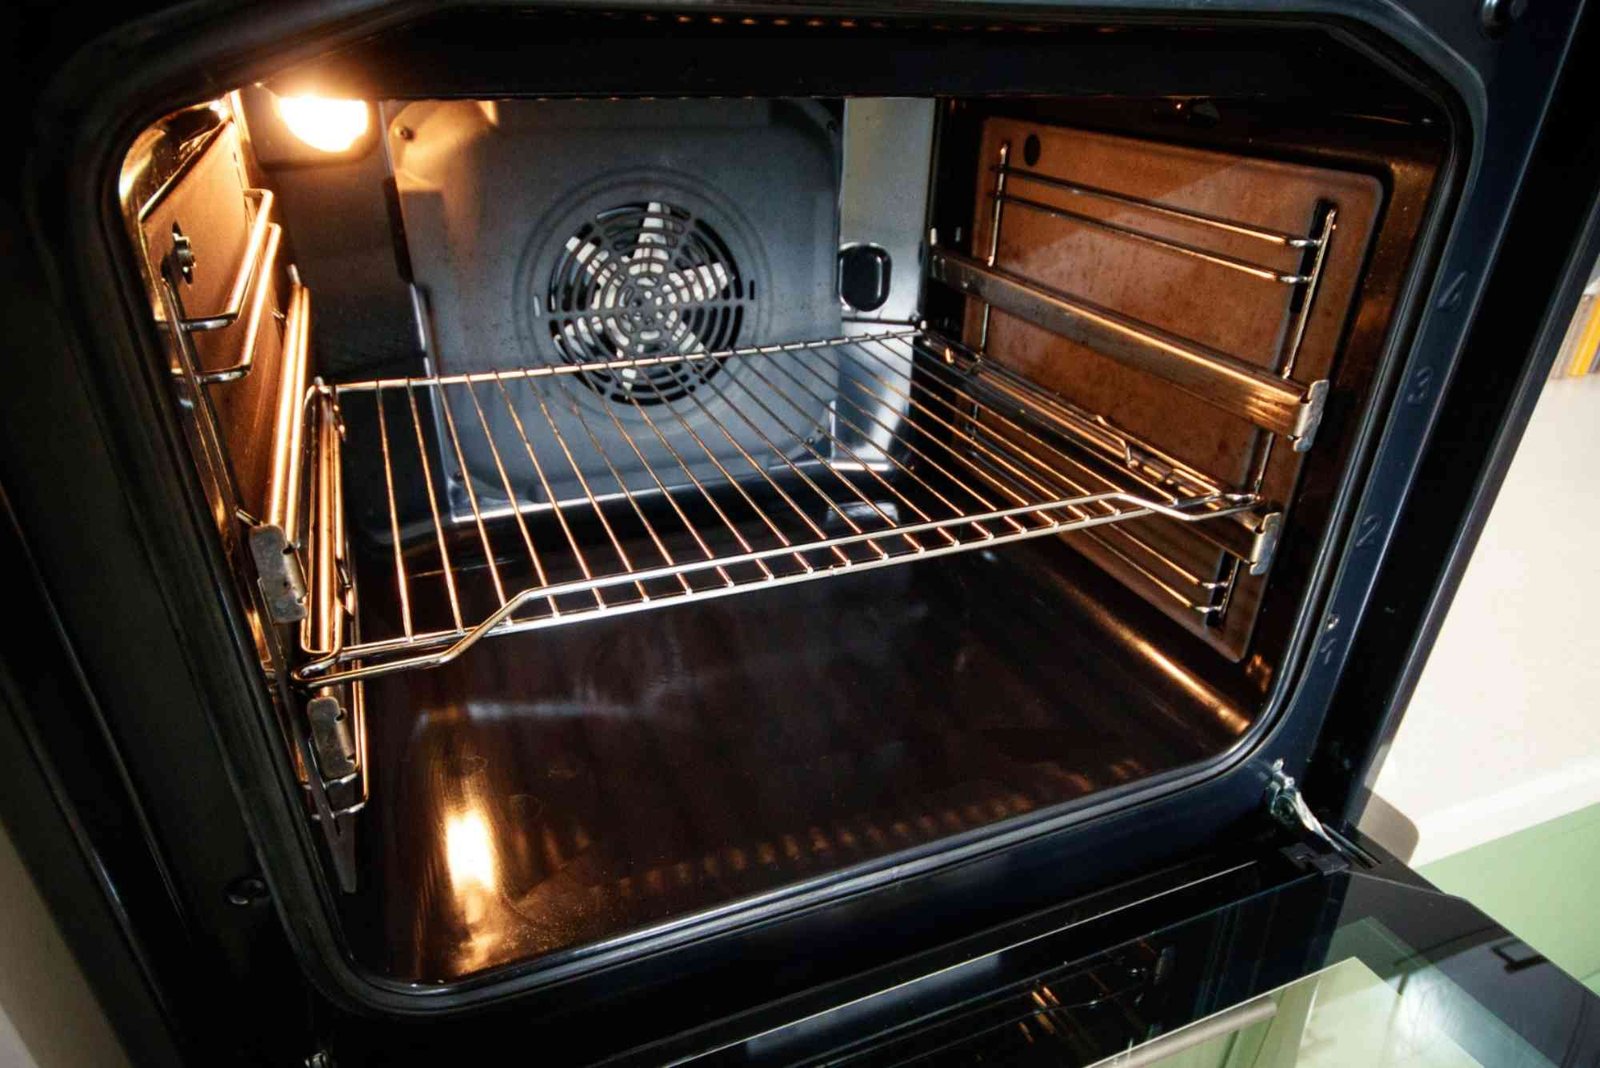
Oven heating elements are metal coils, usually located at the bottom or top of the oven interior. They convert electricity into heat to cook your food. Over time, these elements may burn out due to wear, excessive use, or electrical issues. Common signs of a burned-out element include uneven heating, no heat, visible breaks, or discoloration of the coil. Recognizing these signs early can prevent further damage to your oven and ensure your meals turn out perfectly.
Common Causes of Oven Element Burnout
Burnout often occurs because of prolonged use at high temperatures, accidental spills that create hot spots, or electrical surges. In some cases, poor ventilation in the oven can cause the element to overheat. Even regular wear and tear eventually affect performance. Understanding why an element burns out helps in preventing similar issues in the future. Regular inspection and cleaning are simple steps that can extend the life of your oven.
Tools Needed to Replace a Burned-Out Heating Element
Before attempting any repair, gather essential tools. You will typically need a screwdriver, replacement heating element, and a multimeter to test for continuity. Safety equipment like gloves and protective eyewear is recommended. Having these tools ready ensures that the replacement process goes smoothly and reduces the risk of accidents. Testing the new element with a multimeter before installation can confirm it is fully functional.
Disconnect the Oven from Power
Safety is the most important aspect of any electrical repair. Always disconnect your oven from the main power supply before touching the heating element. This prevents electric shocks, which can be dangerous or even fatal. Some ovens have a dedicated circuit breaker, while others require unplugging from the wall outlet. Take your time with this step and double-check that no electricity is running to the oven before proceeding.
Remove the Burned-Out Element
Once the oven is safely powered off, locate the heating element inside the oven. Usually, it is secured with screws at the back. Carefully unscrew and pull the element toward you. In some models, you may need to detach wire connectors; gently pull them off or use a screwdriver to loosen them. Inspect the old element for visible damage such as breaks or blisters, which confirms it needs replacement.
Test the Element (Optional)
Using a multimeter, check the continuity of the removed element. A reading of zero or infinite resistance indicates the element is burned out. Testing ensures you are replacing the correct component and not wasting time on unnecessary repairs. This step is especially helpful if your oven has multiple heating elements. It also allows you to compare readings with the replacement to verify compatibility.
Install the New Heating Element
Insert the new heating element in the same orientation as the old one. Reconnect any wires and secure it with screws. Ensure all connections are tight but not forced. A loose connection can lead to uneven heating or further burnout. Make sure the element is seated properly and does not touch the oven walls, which can damage the coating or create electrical issues.
Test Your Oven
Reconnect the oven to power and turn it on. Set a moderate temperature and observe the element for uniform heating. The coil should glow evenly without flickering. If the oven reaches the set temperature and cooks food as expected, your replacement was successful. Keep an eye on the first few uses to ensure stability and check for unusual noises or smells.
Preventive Tips for Long-Lasting Oven Elements
To avoid frequent burnout, follow simple preventive measures. Avoid cooking at maximum temperature constantly, as this stresses the element. Clean spills immediately to prevent residue from causing hot spots. Regularly inspect the element for early signs of wear, discoloration, or damage. Using a quality surge protector can also safeguard against sudden electrical fluctuations. Taking these precautions can extend your oven’s lifespan and save you repair costs.
Safety Precautions
Never touch the element while the oven is on or immediately after use, as it can remain hot for minutes. Always wear insulated gloves when handling electrical components. Follow manufacturer instructions carefully and avoid improvising with incompatible parts. Safety should always be your top priority when performing any electrical repair.
Signs It’s Time to Replace the Heating Element
Even with preventive care, heating elements eventually wear out. Key signs include uneven cooking, long preheating times, visible breaks or blistering, and strange odors when heating. If you notice these symptoms, replacing the element promptly will restore your oven’s performance and prevent further damage. Ignoring these signs may lead to more expensive repairs down the line.
Benefits of Timely Replacement
Replacing a burned-out oven heating element ensures consistent cooking temperatures, improved energy efficiency, and safety. It prevents partial heating that can ruin recipes and reduces the risk of electrical hazards. Prompt replacement also prolongs the life of other oven components. Regular maintenance and timely repair make your kitchen more reliable and your cooking experience stress-free.
Common Mistakes to Avoid
Avoid installing a non-compatible element, which can cause malfunction or safety hazards. Do not force connectors or screws, as this may damage wires or the oven frame. Avoid skipping the power disconnection step, which is critical for safety. Always check the new element for quality and continuity before installation. Taking shortcuts can result in repeated failures or void your oven warranty.
Additional Resources
For a detailed, step-by-step guide with visuals, you can explore How To Repair Oven Heating Element Burnout. This resource provides additional tips and expert insights for various oven models. If you are curious about other home repair projects, a Related Blog article can offer practical DIY inspiration. For further technical learning, Learn more about electrical components and appliance maintenance.
Fixing a burned-out oven heating element may seem daunting, but it is achievable with careful preparation and safety precautions. By understanding how your oven works, testing components, and following step-by-step instructions, you can restore its performance efficiently. Regular maintenance and preventive care further ensure your oven remains reliable for years. If you follow the practical tips outlined in this guide, you will enjoy consistent cooking temperatures and a safer kitchen environment. Start your repair today, and restore your oven to peak performance with confidence.
If your gas stove isn’t performing as it should, the culprit may be a faulty regulator restricting the flow of gas and causing uneven flames or ignition issues. Understanding how to properly diagnose and fix a gas stove regulator problem can save you time and money, and ensure your kitchen stays safe and efficient. For a step‑by‑step guide that walks you through common causes and simple solutions, check out this helpful resource.
FAQs
How do I know if my oven heating element is burned out?
Check for uneven heating, visible breaks, or discoloration. If your oven doesn’t reach temperature, the element may be faulty.
Can I replace the element myself?
Yes, with basic tools, safety precautions, and a compatible replacement, most homeowners can replace an oven heating element.
How long does a heating element last?
Typically, oven heating elements last several years, depending on usage, temperature settings, and maintenance.
Is it safe to use an oven with a broken element?
No, using a broken element can lead to uneven cooking, potential electrical issues, or fire hazards.
What tools are required for replacement?
You will need a screwdriver, multimeter, gloves, and the replacement heating element.